Hey Guys,
Here are the modifications required to mount a Fuel/Tezro V10/12 into an Origin 350.
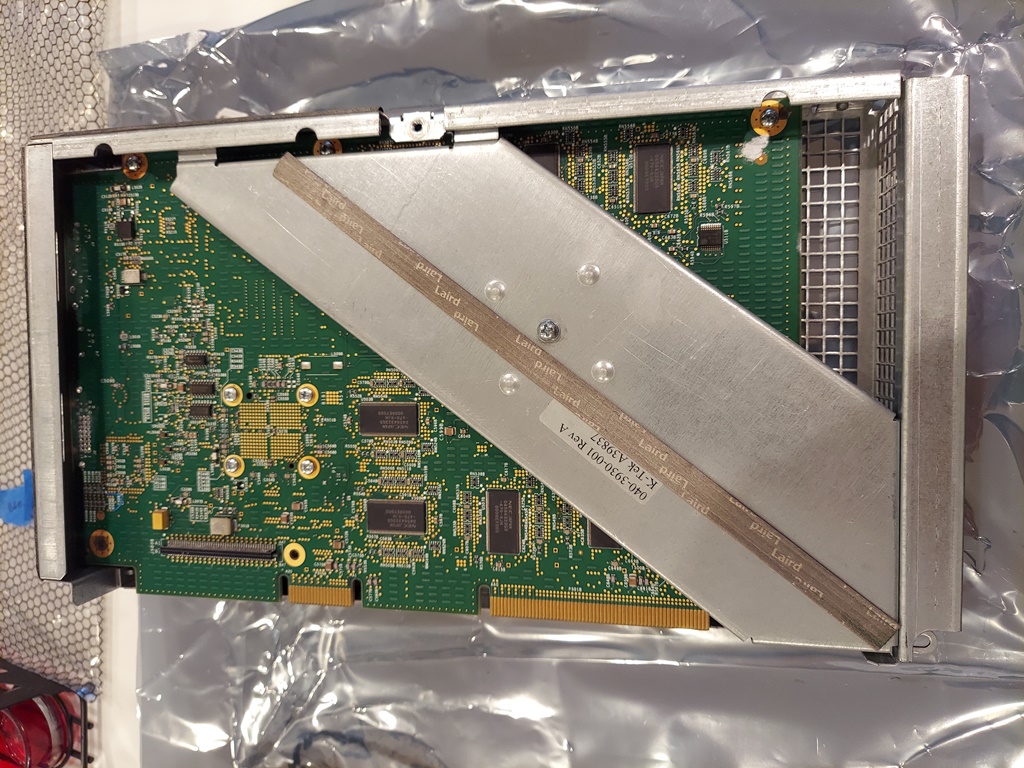
Remove the sheet metal parts from the card and discard the thin shim between the rear plate and board.
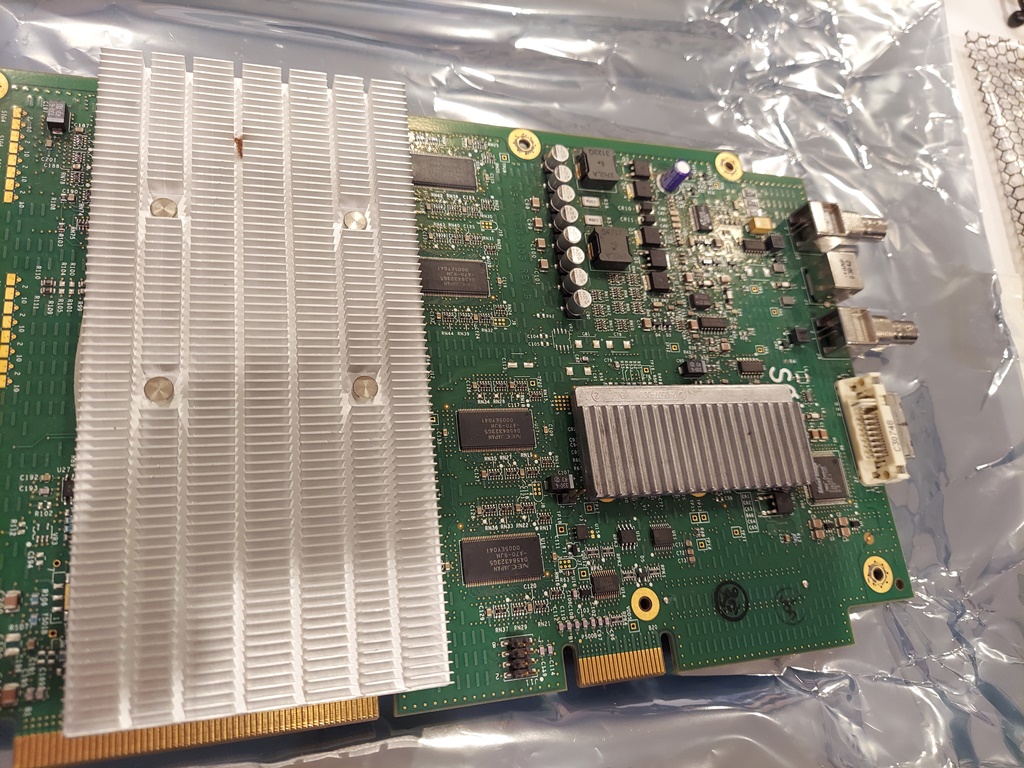
You need to remove the heatsink from the board. you do this by removing the square retainer plate, spring and base plate. Then heat the center of the heatsink with a heat gun to soften the glue. Once the glue is soft I use a very thin screwdriver to carefully separate the heatsink from the chip. Take your time as you can damage the board if you get to rough with this step.
Heatsink removed.
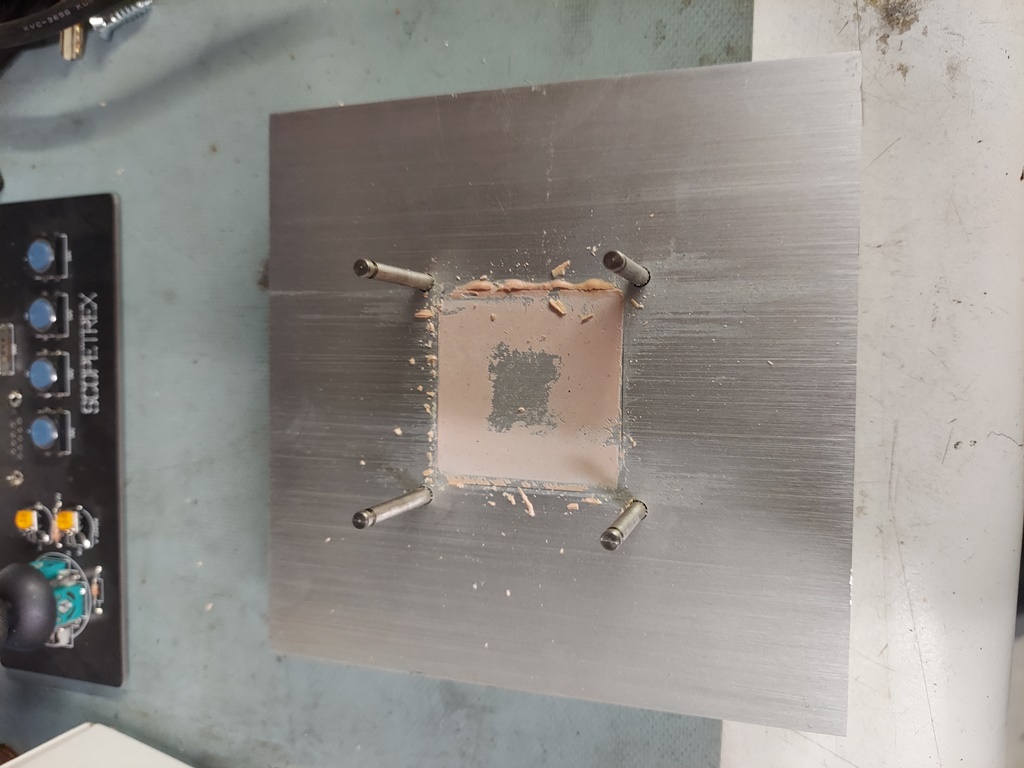
Now you have to cut off 1" of fins from the heatsink so it will clear the nodeboard. Just cut off the fins and don't cut through the whole heatsink. These boards run hot and the more surface area the better. Make sure to clean the old glue off of the heatsink and chip. then apply heatsink paste to the chip and reassemble the board with the fins going the right direction and the notch towards the front of the O350.
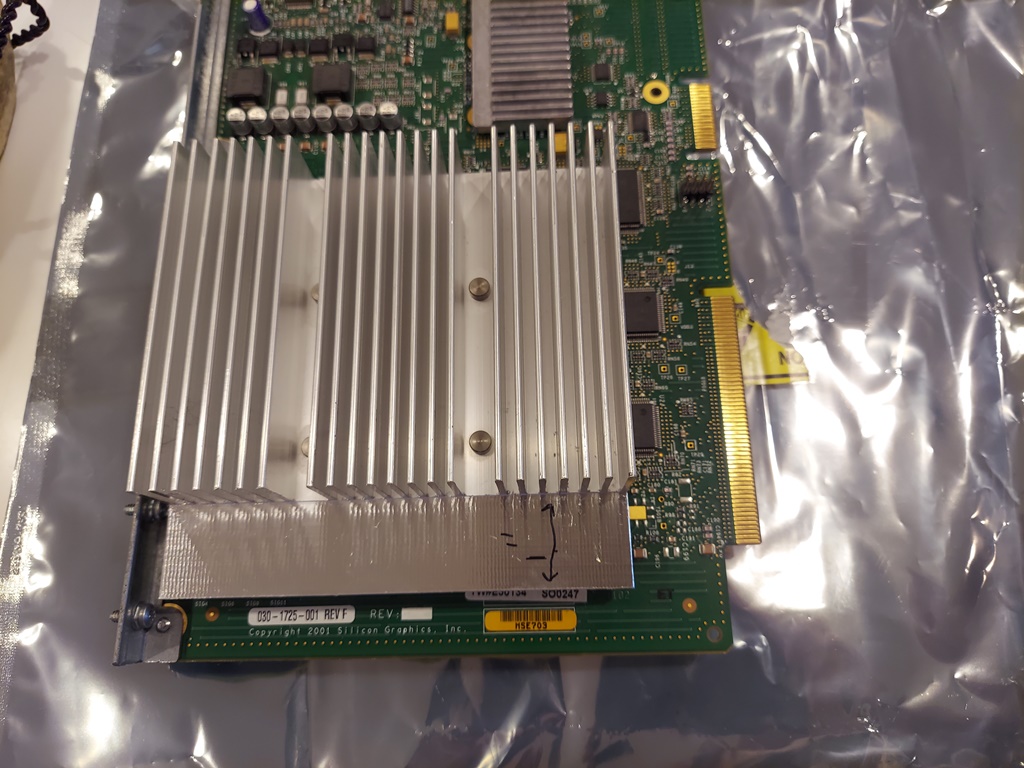
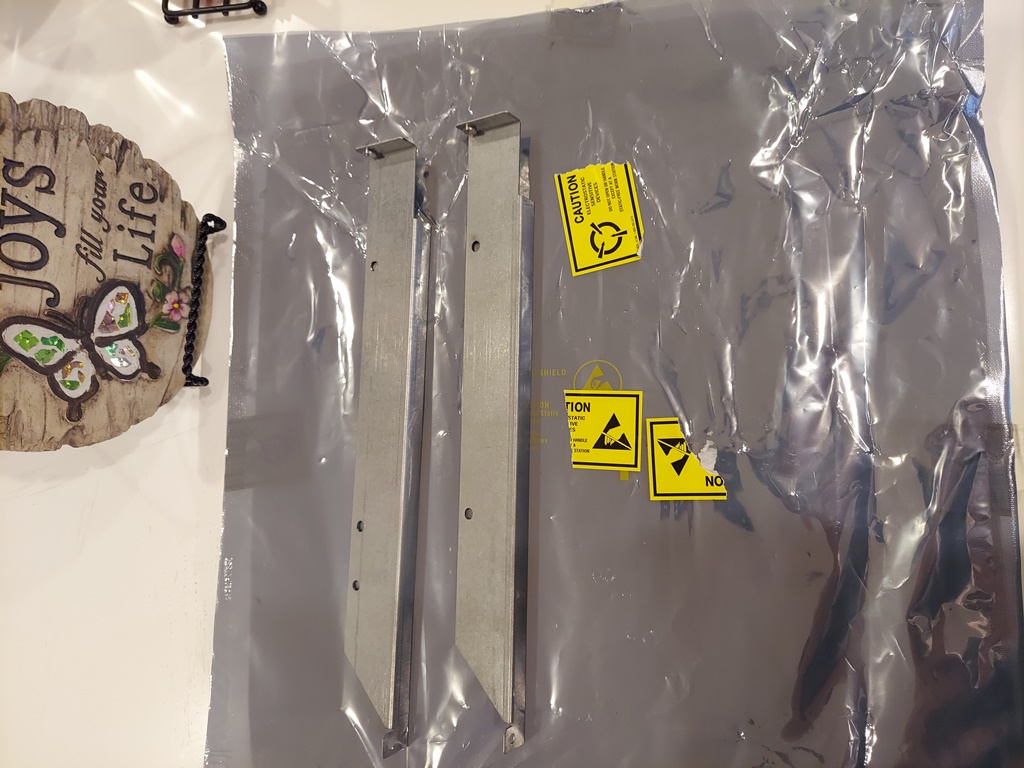
Now remove the exhaust fans from the O350 and modify the long bracket to hold just one fan and the V10. NOTE, there are two types of brackets. One has a single hole at the end but most have two. If your bracket has only one hole just drill a second as shown.
Brackett differences.
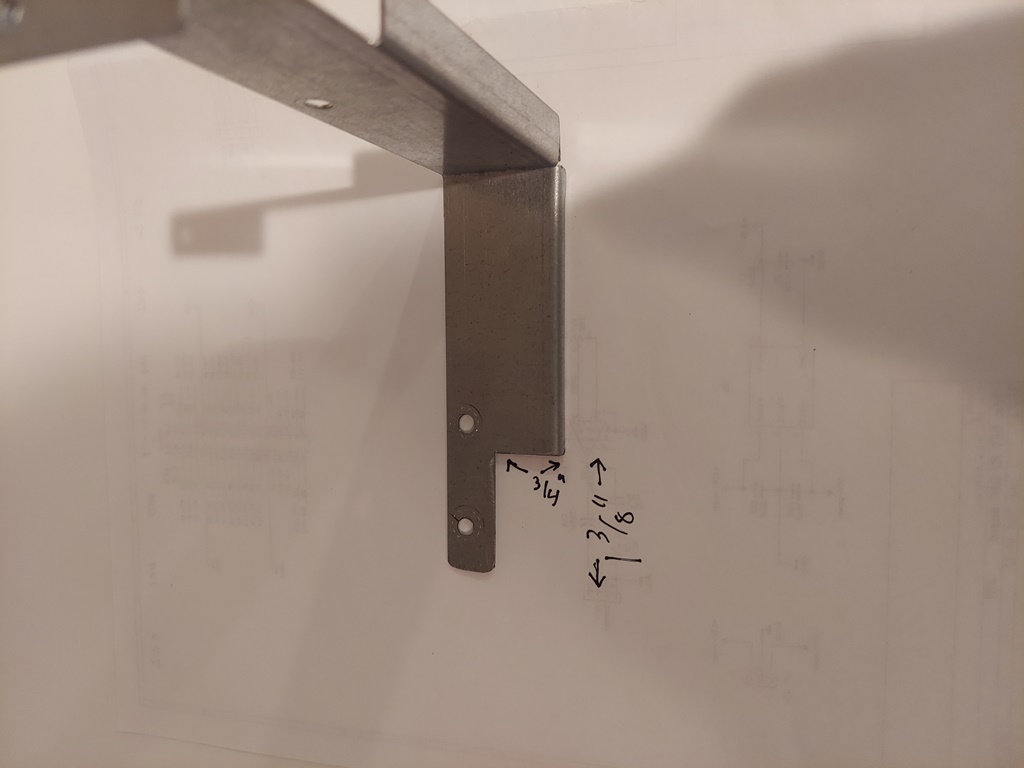
Now you have to cut 2.5" from the left end of the bracket then cut the side lip at 5" from the mount end and then bend the bracket 90 degrees. once this is done then notch the side end to clear the nodeboard.
Bracket with cut and bend.
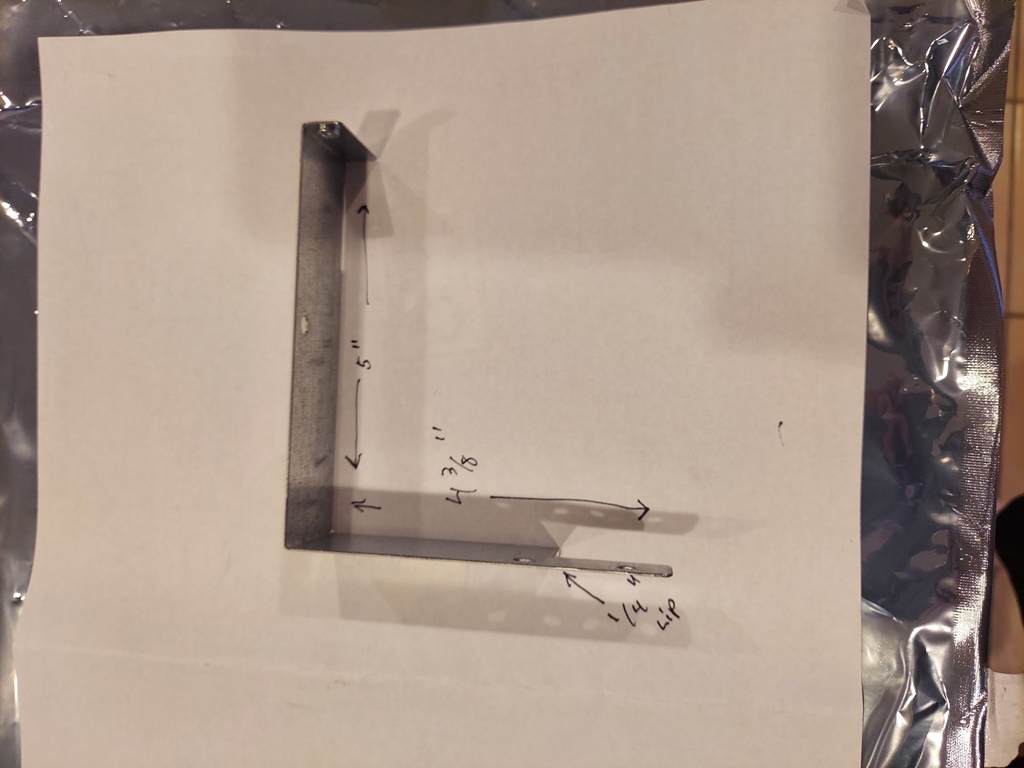
Notch detail.
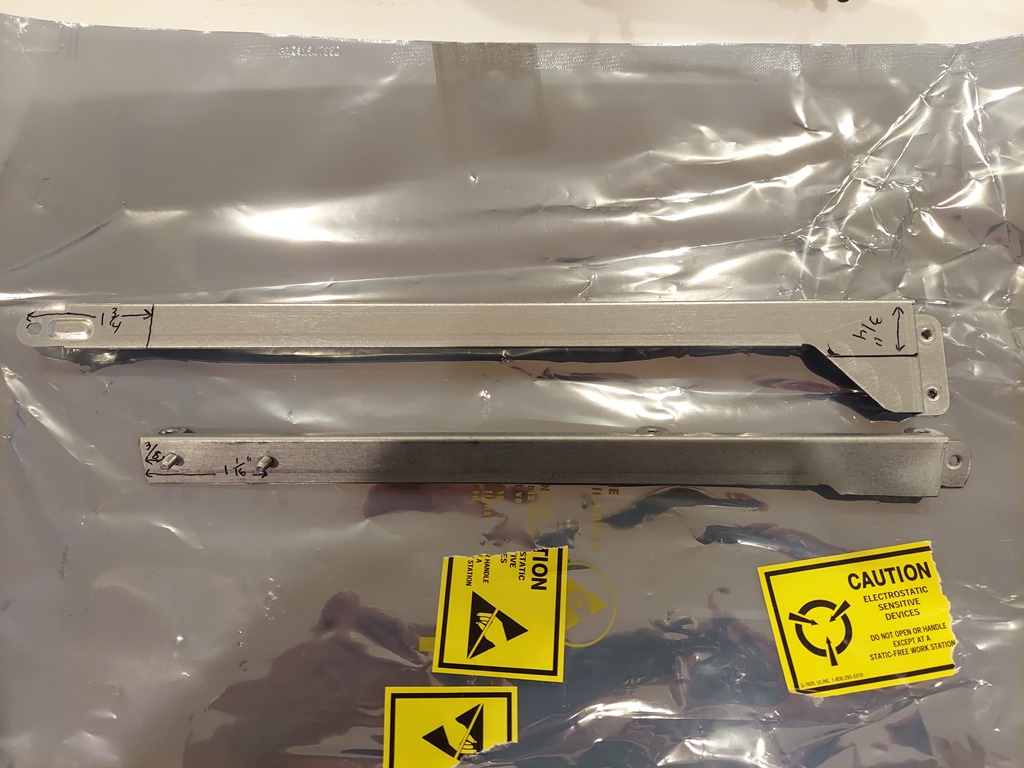
Now cut the long V10 brace as shown and then drill and tap for the 2 6/32 screws. This is tapped so that the screws are captive as you cant reach them later.
Brace detail.
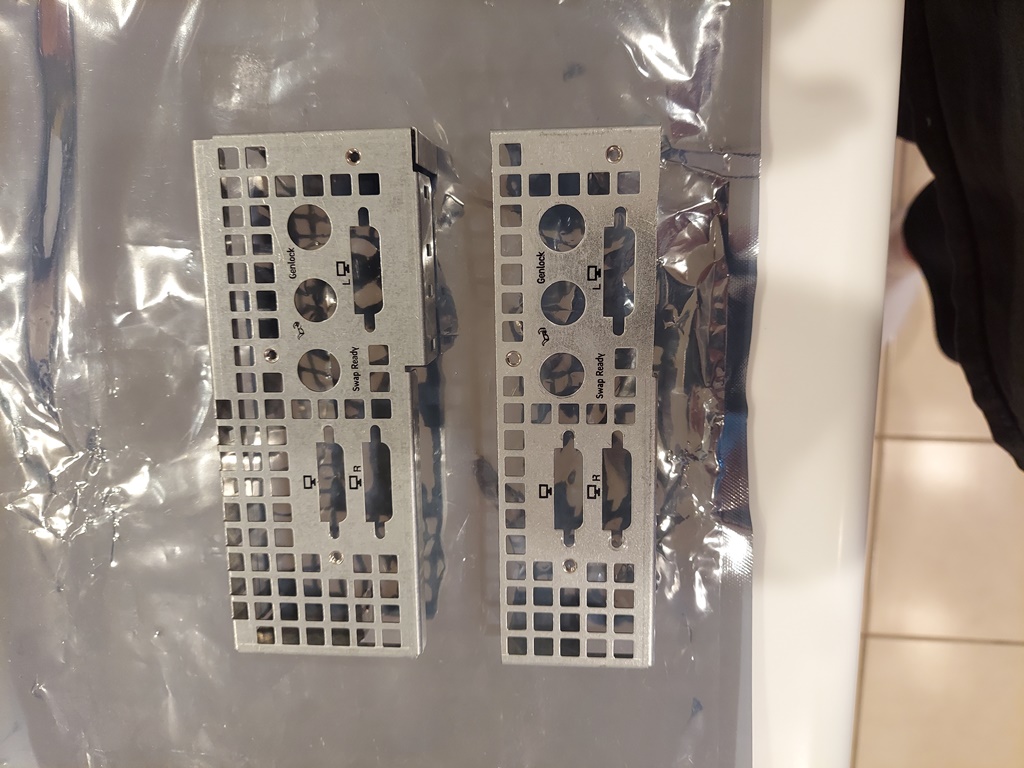
Now trim off the top and bottom of the rear panel so it will fit in the O350.
Rear panel detail.
You can now reassemble the V10.
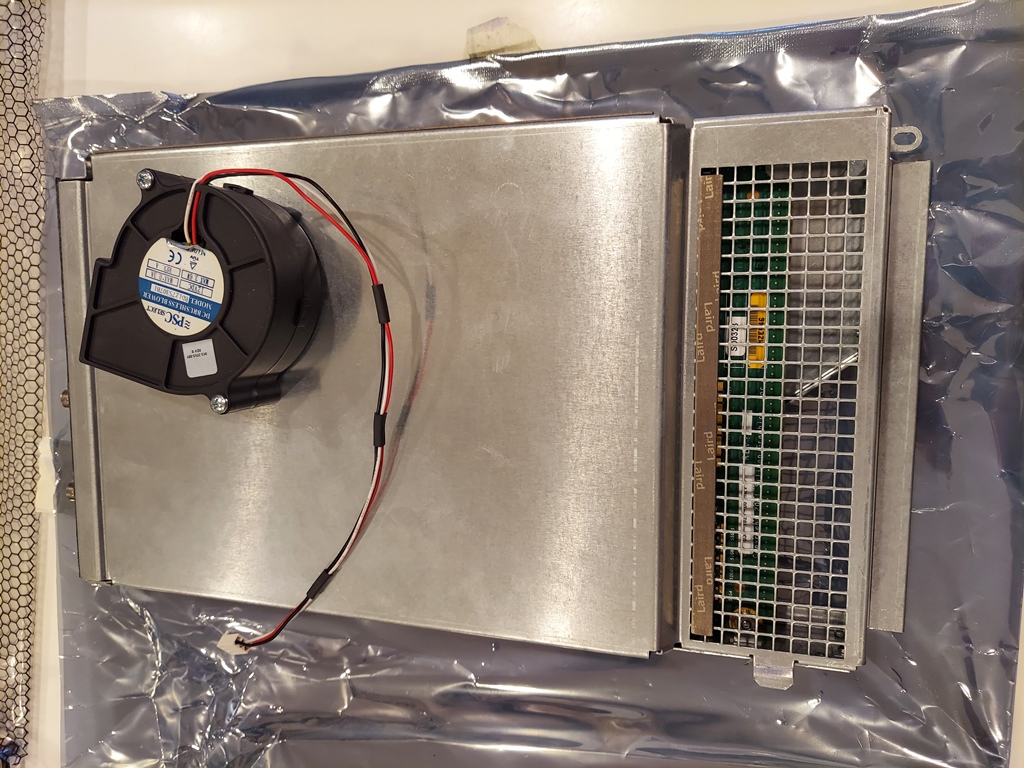
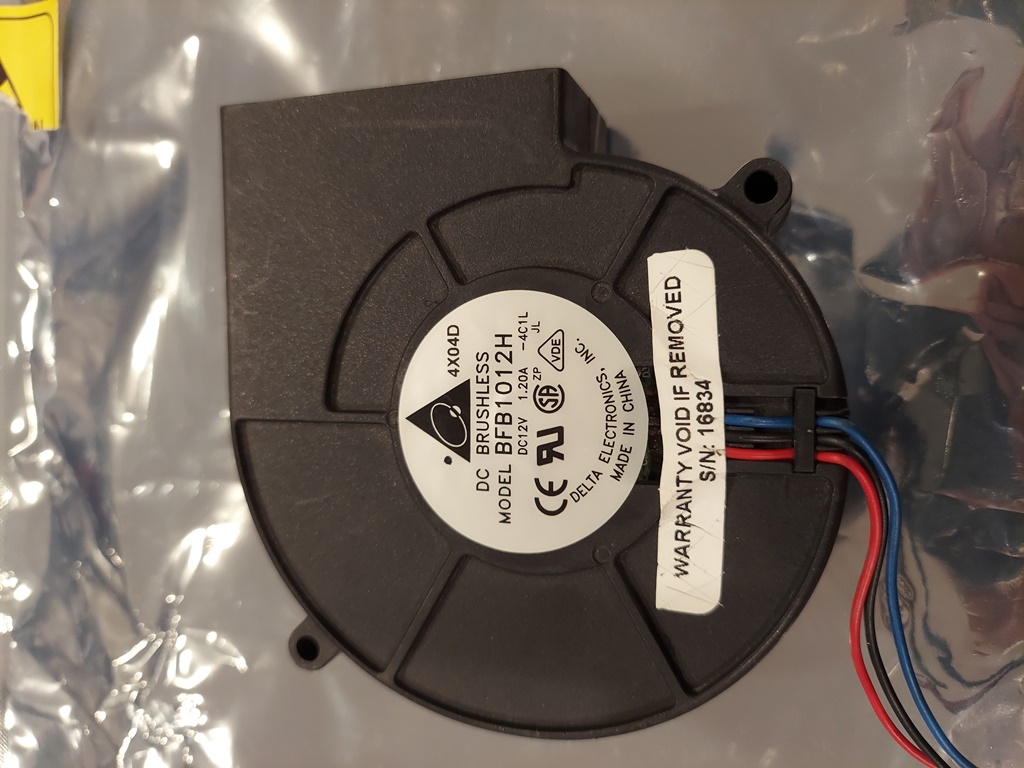
This mod requires a fan to be installed under the V10 that blows out of the rear of the chassis. The fan header on the main board has a limited current carrying capability and I have found this fan to work well.
Fan part number.
More details in next post.
The V10 fan requires two notches to fit. One on the exhaust port and one on the outside mount boss.
Fan notch details.
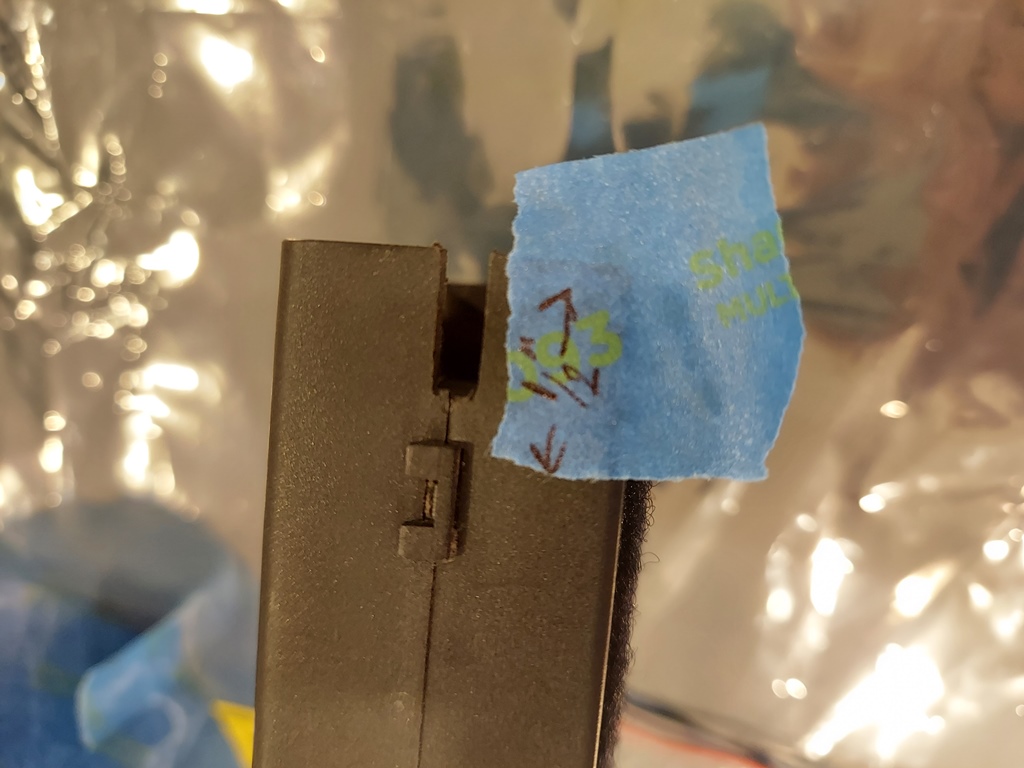
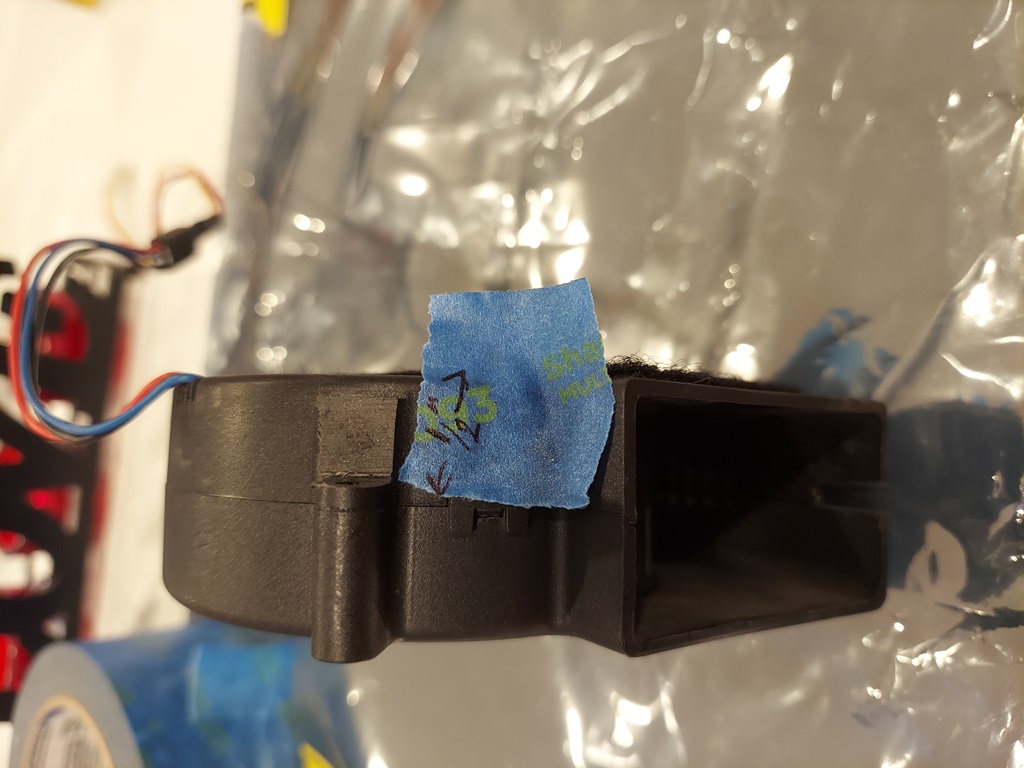
I mount the fan to the mainboard with velcro. You will have to lengthen the fan wires so they reach the fan header. NOTE! SGI uses a different pin out for this fan header so you have to change the fan pinout!
The SGI pinout is
1 +12V
2 TACH
3 Ground.
V10 fan installed. Remember to remove the small block off plate from the back of the chassis.
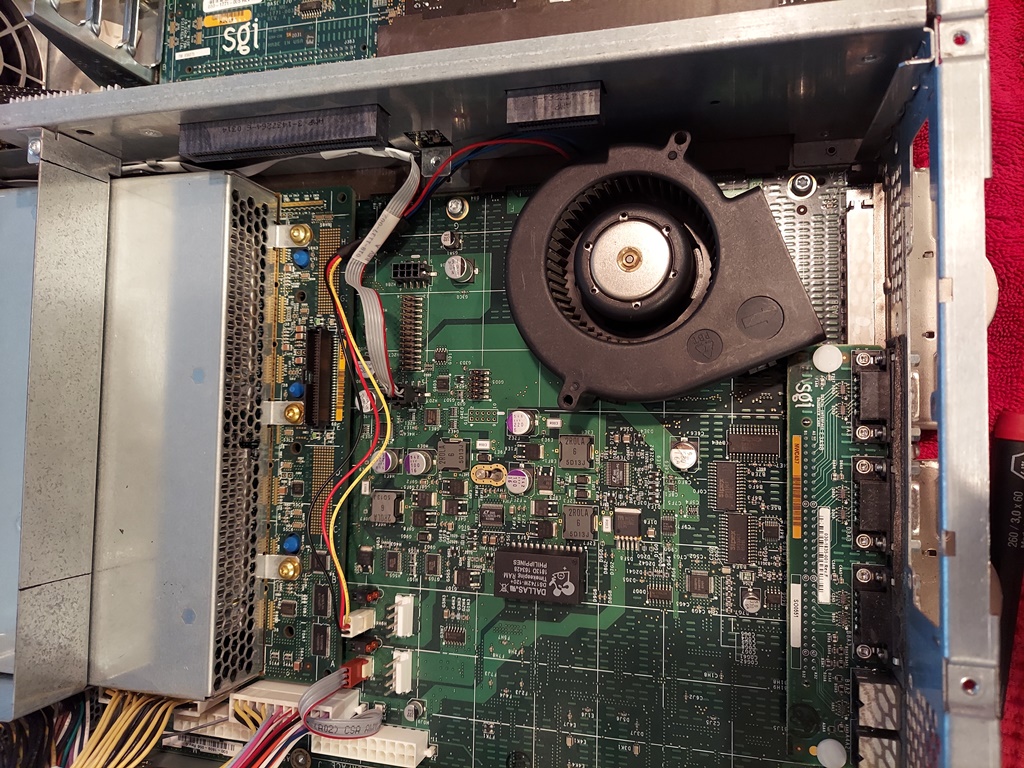
The large exhaust fan from the O350 requires a slot to be cut on the outside plate to let air out of the side of the chassis. Please excuse my rough cut as this part is not finished yet.
Exhaust fan cutout.
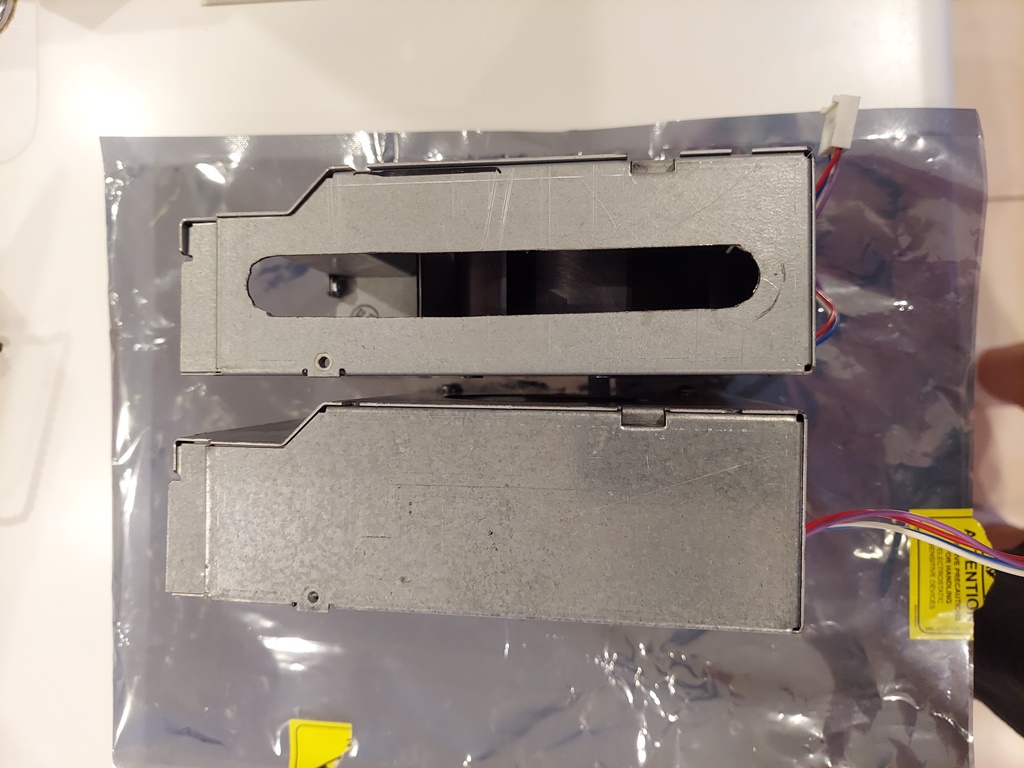
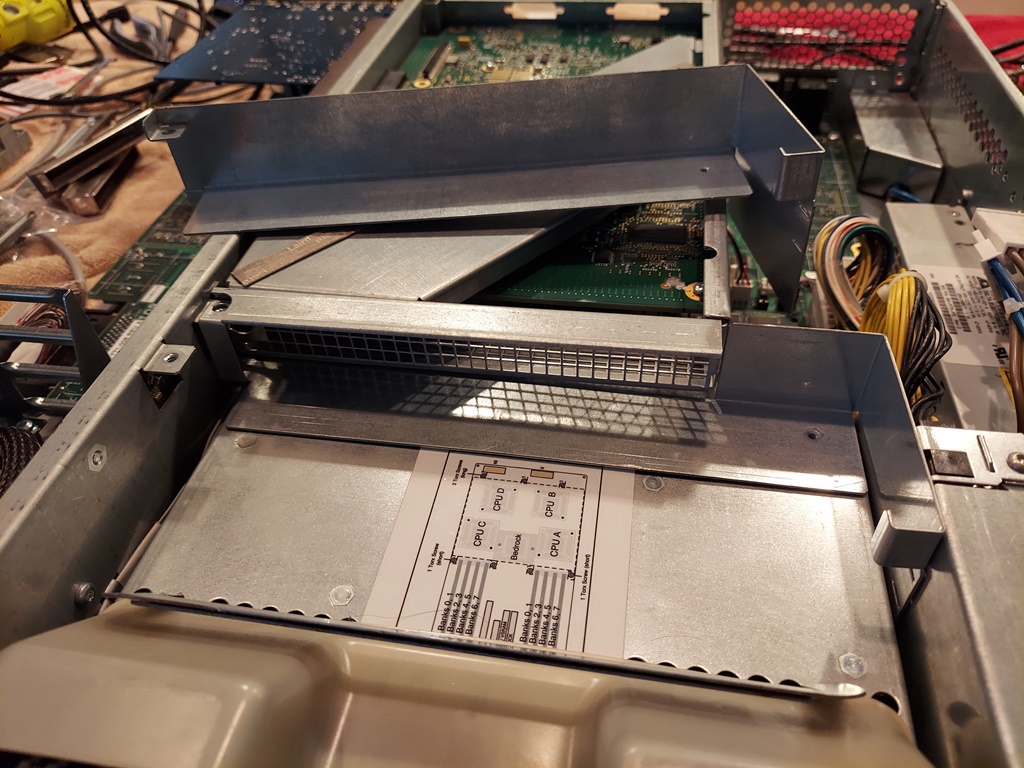
Now you can reassemble the machine. Install the V10 fan first, it needs to be be back far enough to clear the V10 heatsink. Then install the V10 board. To install the large exhaust fan, install the fan screw into the mount bracket but do not tighten it yet. Install the fan and bracket into the machine. You have to flex the bracket end to get it over the screws on the V10 brace. Once that is done tighten up the screws and put nuts on the V10 screws. You will only be able to get one screw into the V10 rear plate on the top left.
Rear plate detail.
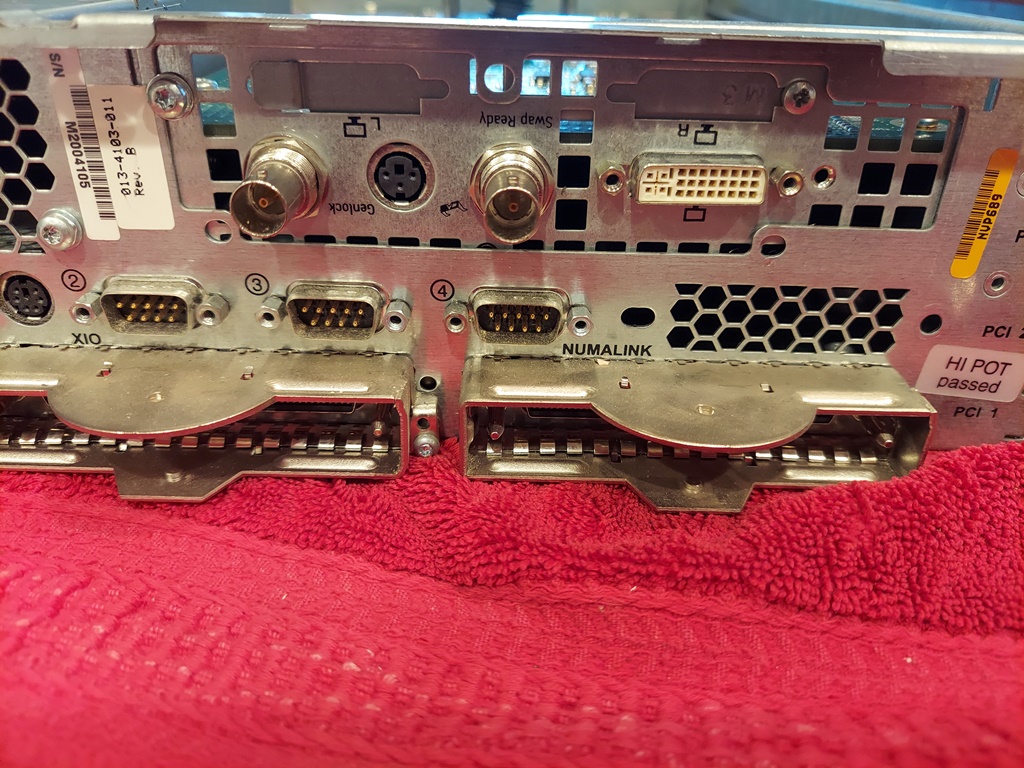
Final install.
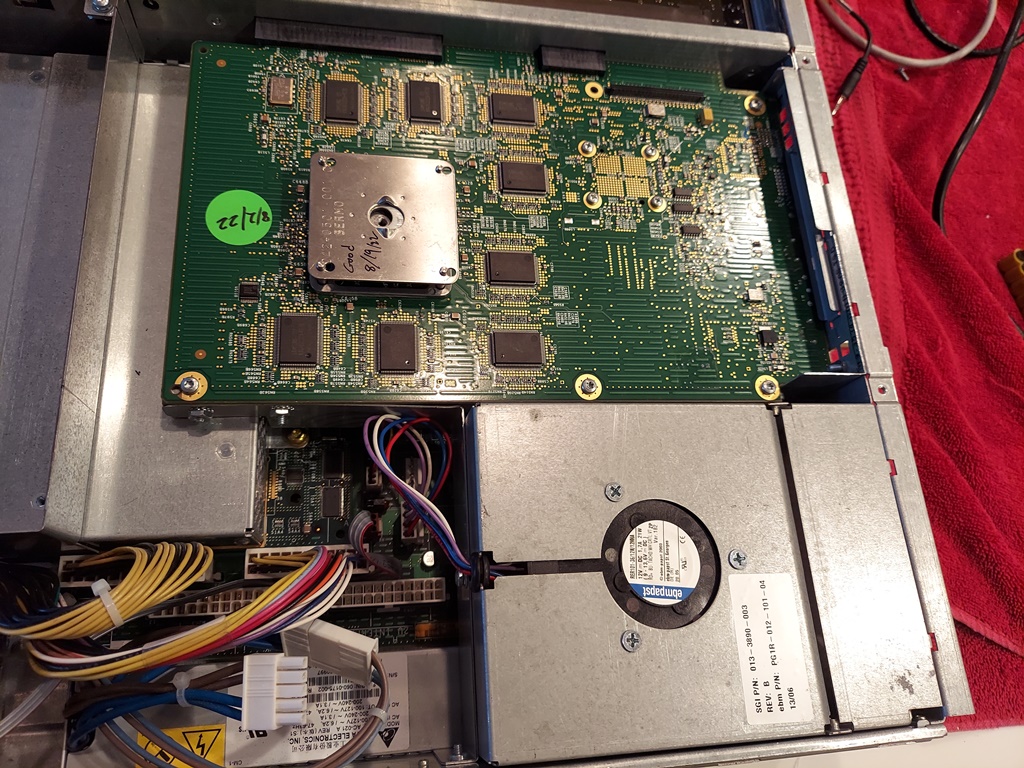
Here is what the OEM rack Tezro/ ONYX 350 graphics card install looks like.
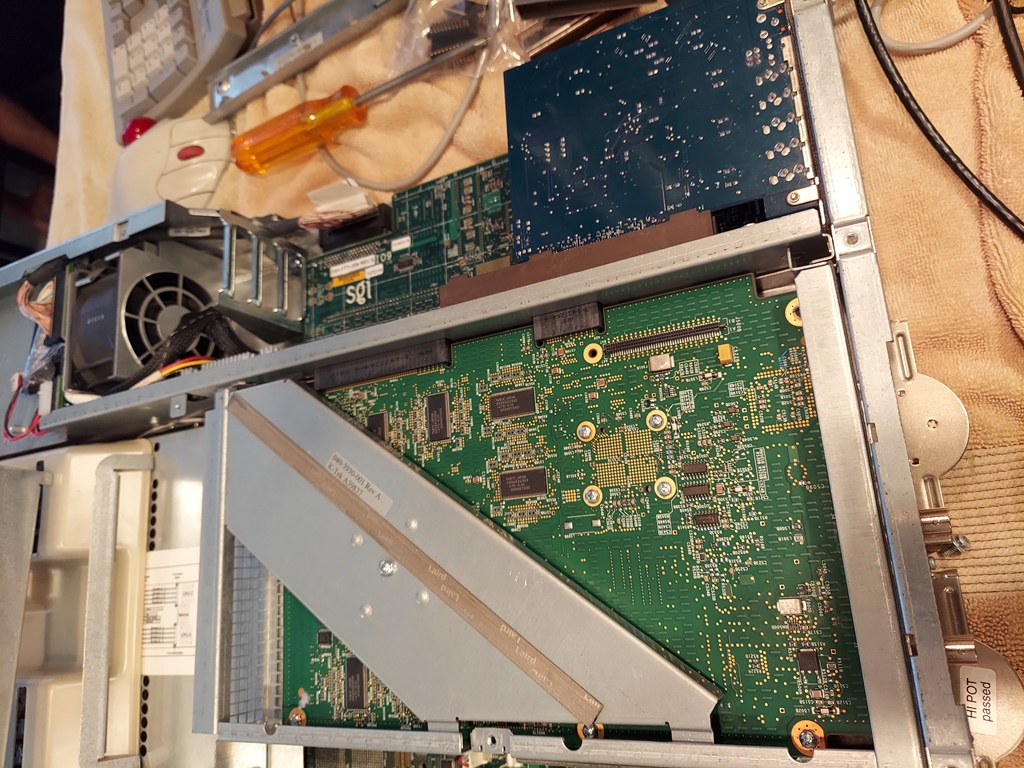
It has a completely enclosed V12 with a very short heatsink. There is a small fan on the bottom and a small metal duct mounted on the rear panel. It uses a special nodeboard air dam that is notched to pull air from on top of the ram area.
Rear fan duct.
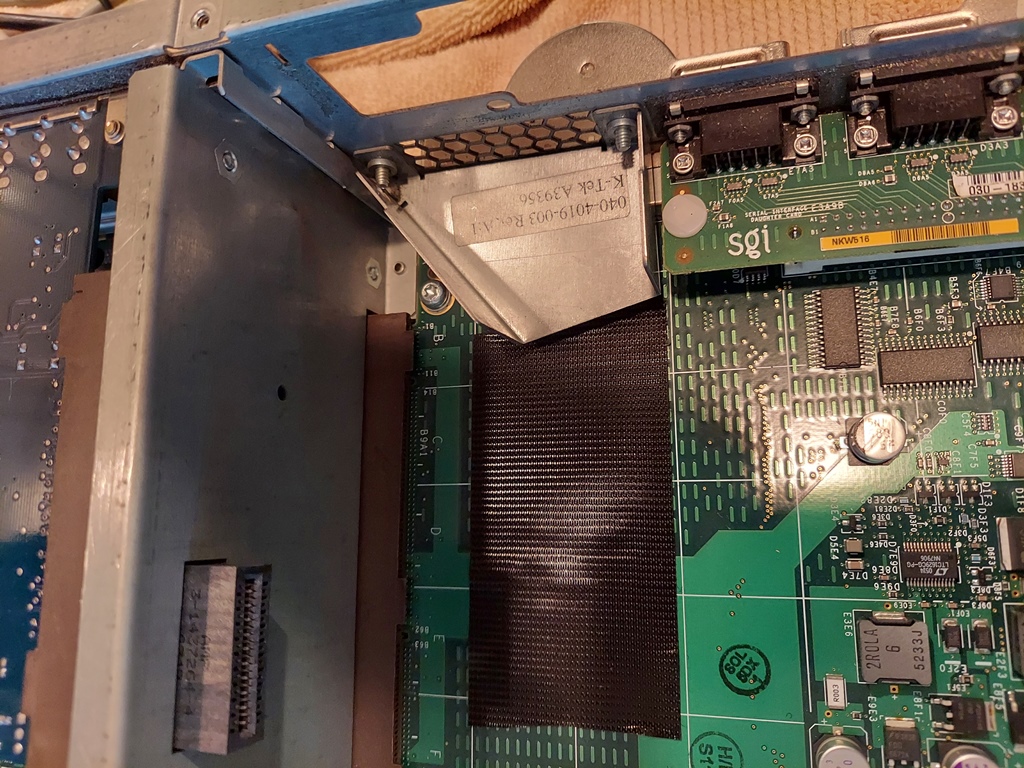
Other photos
